Installing NVIDIA graphics drivers is straightforward, but two things trip people up: where to get the driver, and the fact that GeForce Experience no longer exists — the NVIDIA App replaced it. This guide covers the clean, safe way to install or update NVIDIA drivers on Windows, whether you want the extra app or just the driver, and how to recover when an update goes wrong.
Last checked: September 2026. NVIDIA App replaced GeForce Experience on November 12, 2024; the standalone driver installer is still offered separately.
Know what you have first
Press Win+R, type dxdiag, and check the Display tab for your exact GPU (for example, RTX 4060 or RTX 5060 Ti). You need the exact model because NVIDIA splits its drivers:
- Game Ready Driver (GRD) — tuned for the latest game releases; the right choice for most people.
- Studio Driver (SD) — validated for creative apps (video, 3D, CAD); steadier for workstations. Same GPUs, different testing focus.
Download from NVIDIA only
Get the driver from one of these — never a third-party “driver updater” or download portal:
- nvidia.com/download — pick your GPU manually and choose GRD or Studio.
- The NVIDIA App, which detects your card and keeps drivers updated for you.
The NVIDIA App is optional. It bundles with the driver, but you can uncheck it during install, and — unlike the old GeForce Experience — it no longer forces you to create an account to update drivers.
Clean install: the routine that prevents most problems
- Download the correct driver (or open the NVIDIA App).
- Run the installer. Under Custom (Advanced), tick Perform a clean installation — this wipes stale settings that cause the majority of driver bugs.
- Let the screen flicker and go black briefly; that is the display driver reloading.
- Reboot when finished, even if not prompted.
If you are switching from an AMD card, or chasing a stubborn problem, do a deeper clean: boot into Safe Mode and run DDU (Display Driver Uninstaller), the community-standard removal tool, before installing the NVIDIA driver fresh. This is the same clean-install discipline we recommend for AMD Radeon drivers.
Troubleshooting
- “NVIDIA installer cannot continue / this graphics driver could not find compatible hardware.” You downloaded the wrong series. Re-check your exact GPU in dxdiag and download the matching driver.
- Black screen after install. Wait two full minutes (first-boot shader work can blank the screen). If it persists, boot Safe Mode, run DDU, and install the previous stable driver from NVIDIA’s site.
- Installer fails partway. Close GPU overlays and monitoring tools (MSI Afterburner, RGB apps), then retry. Antivirus occasionally locks the installer too.
- Laptop with NVIDIA Optimus. If the laptop maker ships its own validated driver and the machine is under warranty, that driver can be the safer choice; otherwise NVIDIA’s generic driver generally works and is newer.
- Game runs worse after updating. Roll back — NVIDIA keeps prior drivers on each product page. Nothing forces you onto the newest release.
A sane update habit
If your system is stable and your games run, updating every month or two is plenty — Game Ready if you play new titles on launch day, Studio if you create. Let the NVIDIA App notify you rather than chasing every release, and clean-install on major version jumps. That is the whole maintenance story; anything promising “update your drivers daily” is selling you a problem you do not have.
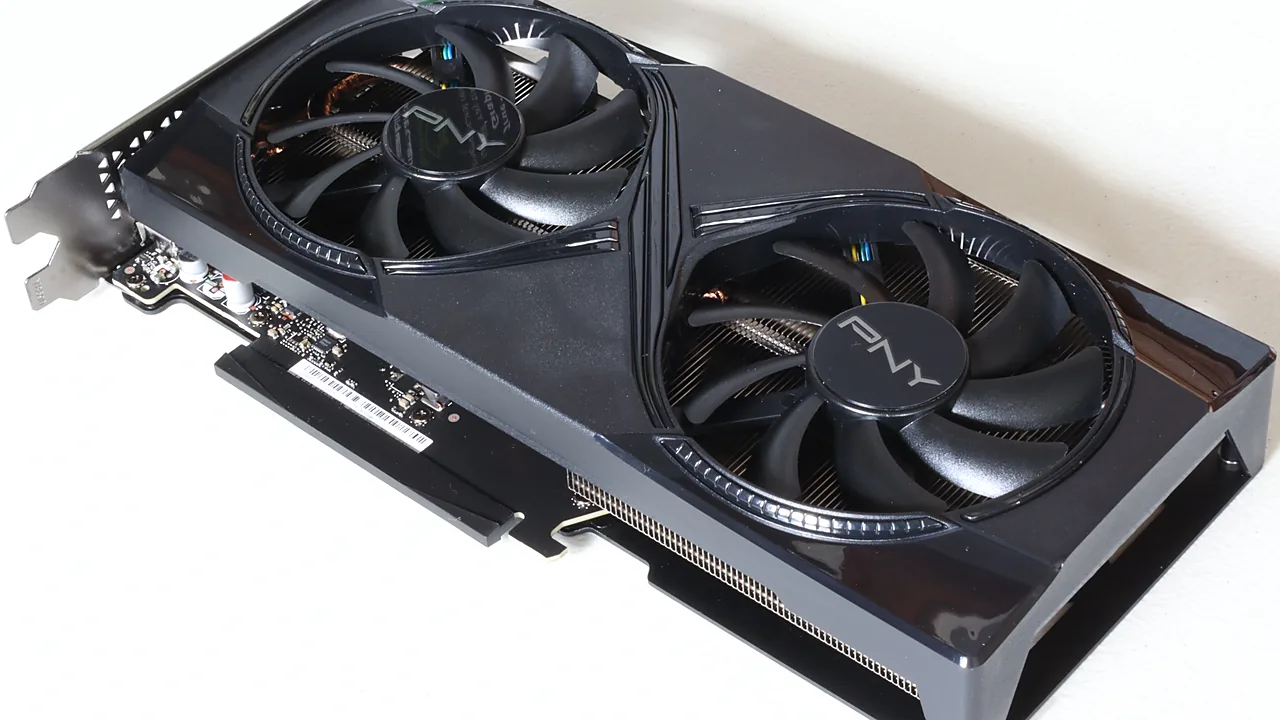
Featured image: Nvidia GeForce RTX 5060 Ti — Photo: FreeMediaKid! / Wikimedia Commons, CC BY-SA 4.0