Adding a printer to Windows 11 is usually quick — Windows finds most modern printers by itself. When it doesn’t, the cause is almost always one of a few predictable things: the network, the driver, or a false “offline” status. This guide covers installing a printer over Wi-Fi and USB, adding one Windows can’t see, and fixing the problems that show up afterward.
Last checked: September 2026. Steps are for Windows 11; Windows 10 is nearly identical.
Before you start
Two quick checks save a lot of frustration. First, make sure the printer is powered on and past any startup screen. Second, decide how you’re connecting it: Wi-Fi (most convenient, needs the printer on your network) or USB (simplest, needs a cable and a free port). For Wi-Fi, connect the printer to your network from its own control panel first — most printers have a Wi-Fi setup wizard on their screen.
Install a Wi-Fi or network printer
- Confirm the printer is on the same Wi-Fi network as your PC.
- Open Settings → Bluetooth & devices → Printers & scanners.
- Click Add device. Windows scans the network.
- When your printer appears, click Add device next to it. Windows downloads the driver automatically.
- Print a test page (see the last section) to confirm.
Install a USB printer
Plug the USB cable into the PC and turn the printer on. Windows 11 detects it and installs the driver within a minute. If nothing happens, open Printers & scanners → Add device to trigger detection manually. Use a port directly on the computer rather than a hub if it isn’t recognised.
When the printer isn’t detected
Click Add device, let the scan finish, then choose “The printer that I want isn’t listed” and pick the option that fits:
- Add a printer using an IP address. Find the printer’s IP from its own menu (or your router’s device list) and enter it. This is the most reliable way to add a network printer Windows won’t auto-find.
- Add a Bluetooth, wireless or network-discoverable printer. Re-runs discovery, useful after you’ve just connected the printer to Wi-Fi.
- If Windows can’t supply a driver, download the full driver package from the maker’s site first — our guides cover Epson and HP — then add the printer.
Troubleshooting
- Printer shows “Offline” but it’s on. The most common issue. Restart the Print Spooler (Win+R →
services.msc→ Print Spooler → Restart) and make sure “Use Printer Offline” isn’t ticked. We cover this in depth in fixing an offline printer. - On the wrong network. A printer on a 2.4 GHz guest network won’t be seen by a PC on the main network. Put both on the same one.
- Stuck print queue. Open the queue, cancel all documents, and restart the Print Spooler if they won’t clear.
- Old printer, no Windows 11 driver. Check the maker’s site — most pre-2018 printers still work with their Windows 10 driver, which installs fine on Windows 11.
- “Driver is unavailable.” Remove the printer (Printers & scanners → Remove), reinstall the maker’s driver, then add it again.
Set your default printer and test
Windows 11 defaults to making your last-used printer the default, which surprises people with more than one. To lock it: Printers & scanners → turn off “Let Windows manage my default printer,” then select your printer and set it as default. Finally, open the printer → Print test page to confirm everything works. To install the maker’s helper apps the easy way, you can also use winget.
FAQ
Do I need to install driver software, or is Windows enough? For most modern printers Windows’ built-in driver handles printing. You only need the maker’s software for scanning, ink levels, or advanced features.
Why can’t Windows find my wireless printer? Almost always because the printer and PC are on different networks, or the printer isn’t actually connected to Wi-Fi yet. Fix that first, then use Add device.
Can I print from my phone to the same printer? Yes — once it’s on your Wi-Fi, phones print to it via AirPrint (iPhone) or Mopria (Android) with no extra setup.
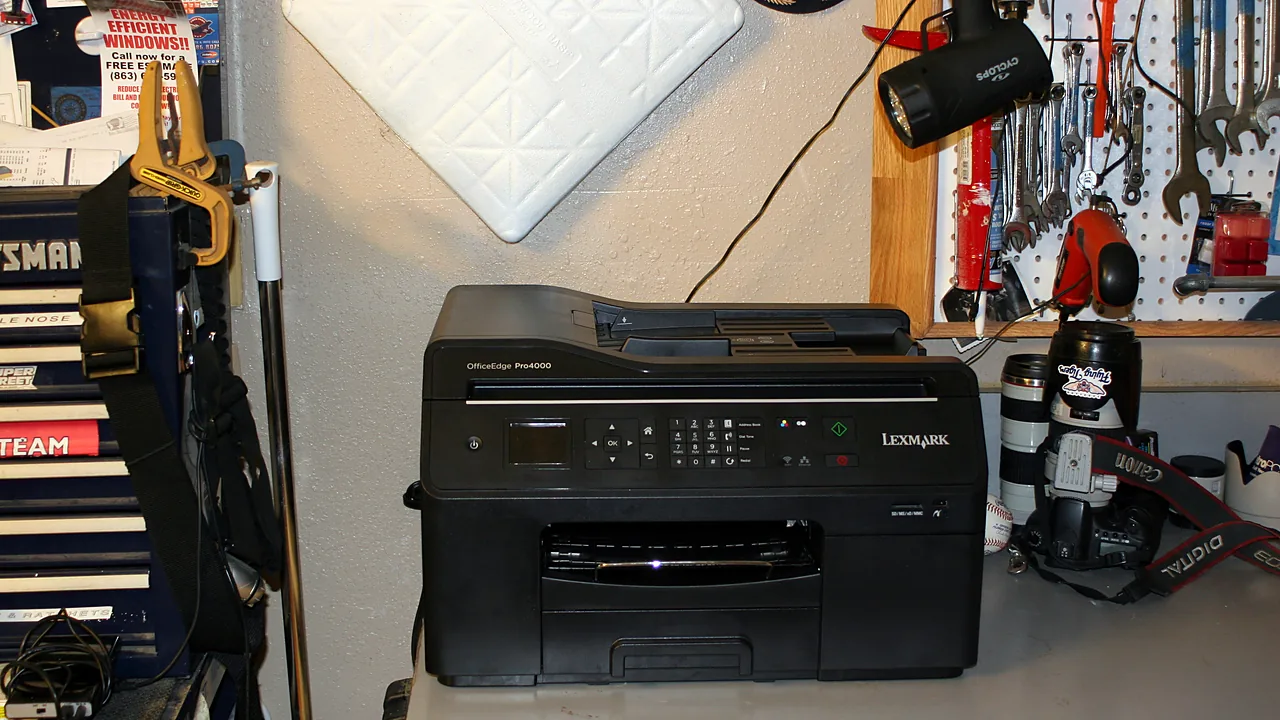
Featured image: Photo: Roger DeWitt / Wikimedia Commons, CC BY 2.0