Most USB writing tools erase the whole stick every time you want a different installer. Ventoy works the other way round: you prepare the drive once, then copy ISO files onto it like ordinary files, and it offers you a menu at boot. One 32 GB stick can hold Windows, a Linux installer and a rescue image at the same time. This guide covers installing it, adding a Windows 11 ISO, booting from it, and the Secure Boot step that catches people out.
Last checked: October 2026. Current Ventoy version: 1.1.17, released 24 July 2026.
What Ventoy is and when to use it
Ventoy is an open-source tool, released under the GPLv3, that installs a small boot loader to a USB drive and leaves the rest of the space as a normal, writable partition. Boot the stick and Ventoy scans that partition for ISO, WIM, IMG, VHD and EFI files, then shows them in a list.
That matters in practice: adding a new installer takes as long as copying a file, and you can still use the drive for ordinary storage. If you only ever write one Windows installer and never touch it again, Microsoft’s own Media Creation Tool is simpler. If you install operating systems more than occasionally, Ventoy pays for itself the second time you use it.
Download it from the right place
Get Ventoy only from ventoy.net or the project’s own GitHub releases page, both of which are linked from the site. Ventoy is popular enough to attract lookalike download portals that wrap it in an installer of their own. The official download is a plain .zip archive — there is no setup wizard, and anything presenting one is not Ventoy.
Install Ventoy to the USB drive
This step erases the drive completely. Copy anything you want off it first, and read the drive letter twice before clicking Install.
- Extract the downloaded .zip to a folder. There is nothing to install on the PC itself.
- Plug in the USB drive. Use 8 GB or larger for a Windows 11 ISO; 32 GB if you want room for several.
- Right-click
Ventoy2Disk.exeand choose Run as administrator. - Check the Device dropdown shows your USB drive and nothing else. This is the step that destroys data if you get it wrong.
- Open Option → Partition Style and choose GPT for any PC made in the last decade. Choose MBR only if you need to boot older Legacy/CSM machines.
- Click Install and confirm the two warnings.
When it finishes, the drive appears in Windows as a large exFAT volume. That is the partition your ISOs go on.
Add the Windows 11 ISO
Copy the ISO file onto the drive the way you would copy any file — drag it into the root of the Ventoy volume, or into a subfolder if you prefer to organise them. Ventoy scans subfolders, so the layout is up to you. Do not extract the ISO; Ventoy boots the image file itself.
If you still need the image, our guide to downloading the Windows 11 ISO covers getting it from Microsoft and verifying the hash before you commit it to a stick.
Boot from the drive
- Leave the USB drive plugged in and restart the PC.
- Press the boot-menu key as it starts — usually F12, F11, F9 or Esc, depending on the manufacturer.
- Select the USB drive. On a GPT/UEFI install it is normally listed with a UEFI: prefix.
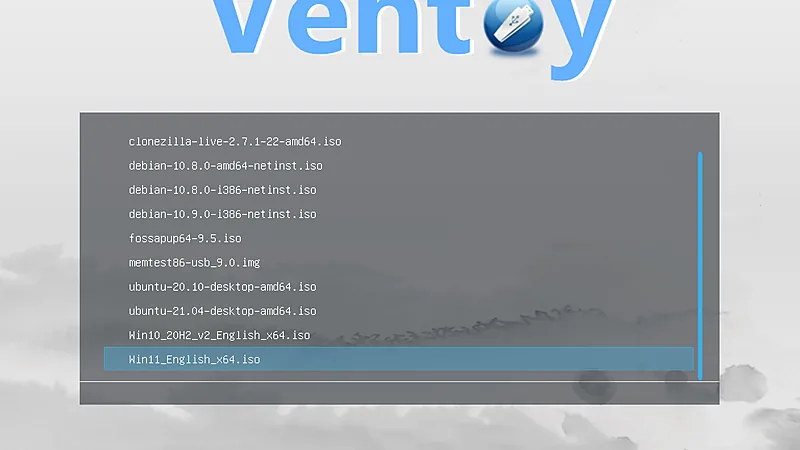
- Ventoy’s menu appears with your ISO files listed. Select the Windows image and press Enter.
- Windows setup loads as if it had been written to the stick directly.
Secure Boot and Ventoy
This is the step that confuses people, so it is worth being plain about it. Ventoy’s boot loader is not signed by Microsoft. On a PC with Secure Boot enabled, the first boot shows a key-enrolment screen asking you to trust Ventoy’s certificate through the MOK manager. Accept it once and the drive boots normally afterwards on that machine.
Turning Secure Boot off is the other option, but if you are installing Windows 11 you will need it back on anyway — our guide to enabling Secure Boot explains why setup checks for it.
Troubleshooting
The USB drive does not appear in the boot menu. Check the partition style matches the firmware mode: a GPT Ventoy install needs UEFI boot, an MBR install needs CSM/Legacy. Also try a different port — some firmware will not boot from front-panel USB hubs — and re-seat the drive before the PC powers on.
Ventoy’s menu is empty. The ISO files are on the wrong volume. Ventoy creates two partitions and Windows usually mounts only the large exFAT one; make sure you copied the files there and not to a leftover drive letter from a previous tool.
The menu appears but the Windows image will not start. Verify the ISO. A truncated download boots to a black screen or an immediate error. Re-check the SHA-256 hash against Microsoft’s listing.
Windows setup reports it cannot find a driver. This usually means the install source became unavailable mid-installation, often from an unreliable USB port or a failing drive. Try another port, preferably one directly on the motherboard, and another stick if it persists.
The drive shows only a tiny capacity in Windows. You are looking at Ventoy’s 32 MB EFI partition. The large exFAT partition is the other one. Nothing is wrong.
FAQ
Can I still use the stick for normal files? Yes. The exFAT partition is an ordinary volume — store documents alongside the ISOs if you like.
Does updating Ventoy erase my ISOs? No. Running the installer again and choosing Update replaces the boot loader and leaves the data partition alone. Choosing Install does wipe it, so pick carefully.
Is Ventoy safe? It is open source under the GPLv3 and widely used. The risk is not the tool but where you download it from — use ventoy.net or the project’s GitHub releases only.
How many ISOs can it hold? As many as fit. The practical limit is the size of the drive.
A multi-boot stick sits naturally alongside the other tools worth keeping on hand — see our roundup of the best utility software for the rest of the kit.
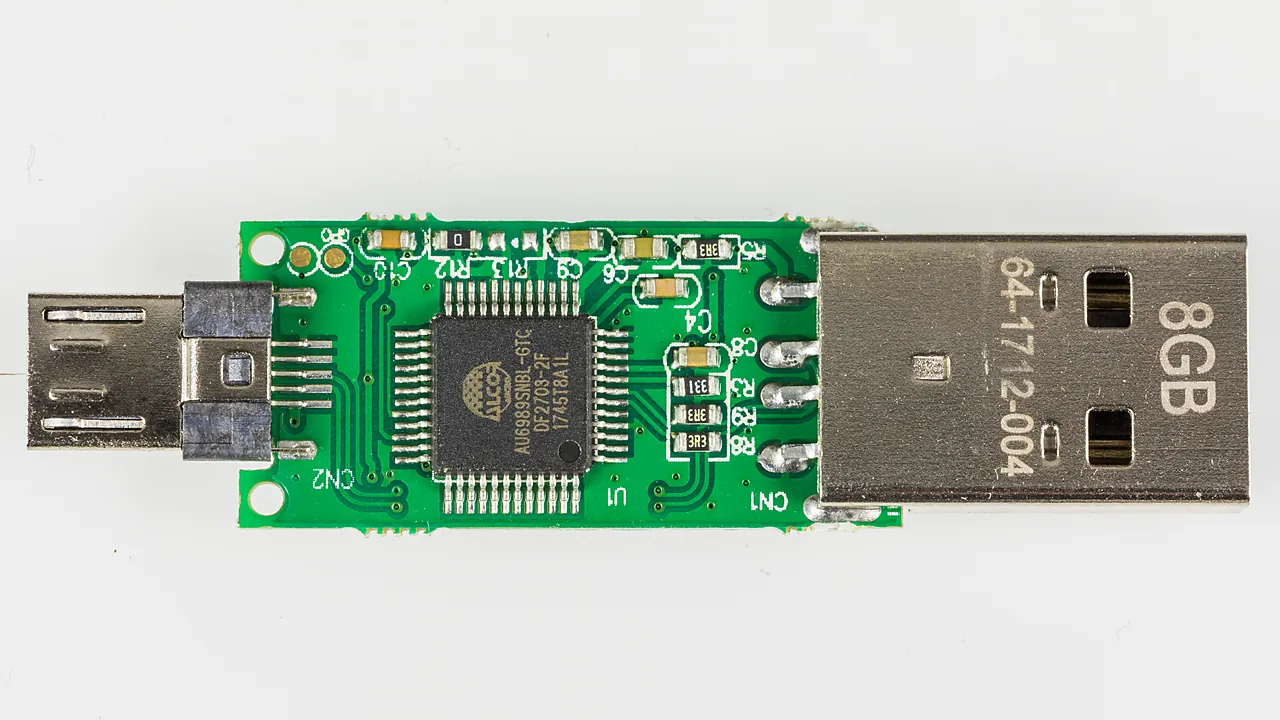
Featured image: Photo: Raimond Spekking / Wikimedia Commons, CC BY-SA 4.0