Secure Boot is the second requirement that stops Windows 11 upgrades, and it is the one with a trap in it: on many PCs you cannot simply switch it on, because the disk is still partitioned the old way. Flip the wrong setting first and the machine will not boot at all. This guide checks your current state, converts the disk safely if it needs it, enables Secure Boot in firmware, and covers what to do when the option is greyed out.
Last checked: October 2026. Current Windows 11 release: version 26H2.
What Secure Boot does
Secure Boot is a UEFI feature that checks the digital signature of every boot loader and driver that runs before Windows starts. Anything unsigned, or signed with a key the firmware does not trust, is refused. The point is to block bootkits — malware that loads before Windows and therefore before any antivirus.
It only works in UEFI mode. A PC booting in Legacy/CSM mode has no Secure Boot at all, which is why the disk layout matters.
Check what you have now
Do this before changing anything. Press Win + R, type msinfo32 and press Enter. In System Summary, read two lines:
- BIOS Mode — must say UEFI. If it says Legacy, stop and read the next section before touching firmware.
- Secure Boot State — On, Off, or Unsupported.
If BIOS Mode is already UEFI and Secure Boot State is Off, you can skip straight to enabling it in firmware.
If BIOS Mode says Legacy: convert the disk first
Legacy boot means your system disk uses an MBR partition table. UEFI needs GPT. Windows includes a conversion tool that does this in place, without deleting your data — but back up first anyway, because any partition-table operation that is interrupted is a bad day.
- Open Command Prompt as administrator.
- Run
mbr2gpt /validate /allowFullOS. This only checks; it changes nothing. If validation fails, the message tells you why — usually too many partitions, or no space for the EFI system partition. - If validation passes, run
mbr2gpt /convert /allowFullOS. - Do not reboot into Windows yet. Restart straight into firmware and switch the boot mode from Legacy/CSM to UEFI. The disk is now GPT and will not boot in Legacy mode.
Only after the machine boots normally in UEFI mode should you go on to enable Secure Boot.
Enable Secure Boot in firmware
- Go to Settings → System → Recovery and click Restart now under Advanced startup.
- Choose Troubleshoot → Advanced options → UEFI Firmware Settings → Restart.
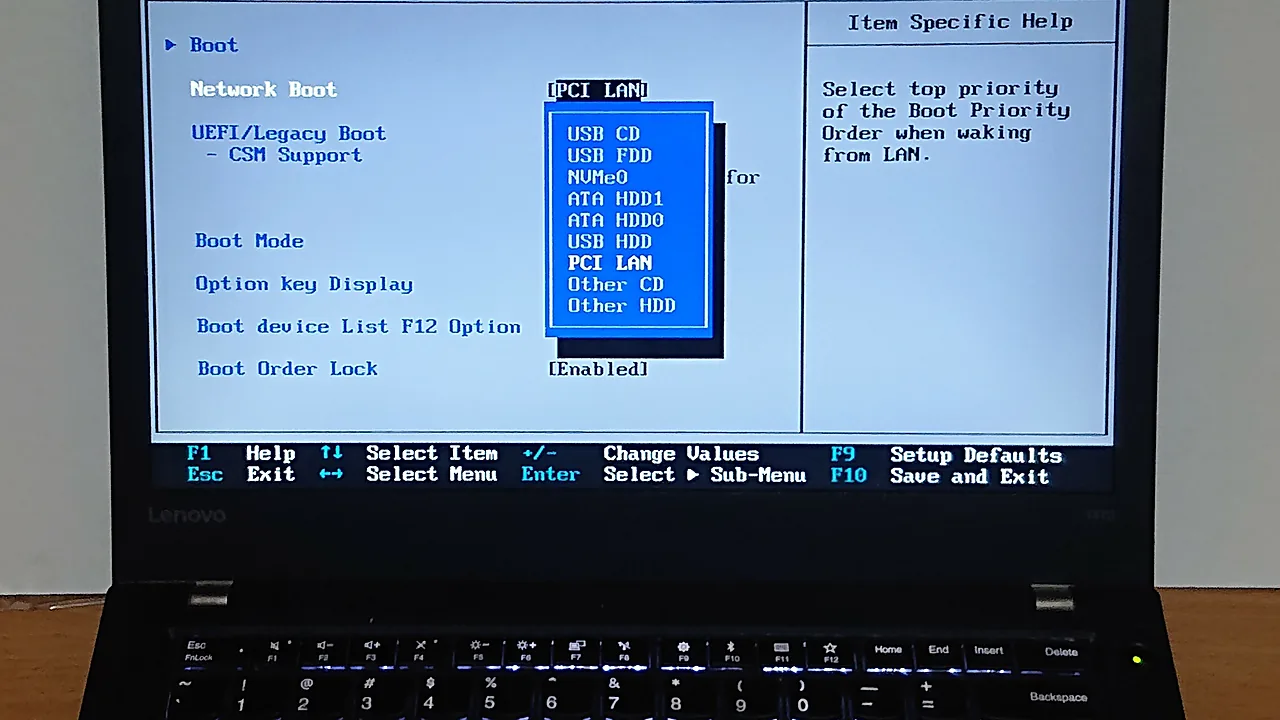
- Find CSM (Compatibility Support Module) and set it to Disabled. Secure Boot cannot be enabled while CSM is on, and on most boards the Secure Boot entry stays greyed out until you do this.
- Open the Boot or Security tab and set Secure Boot to Enabled.
- If Secure Boot refuses to enable, look for Restore Factory Keys, Install default Secure Boot keys, or Reset to Setup Mode and apply it. A board with no platform keys loaded cannot turn Secure Boot on.
- Press F10 to save and exit, then confirm with
msinfo32that Secure Boot State now reads On.
Troubleshooting
The Secure Boot option is greyed out. Three usual causes, in order of likelihood: CSM is still enabled; the firmware has no supervisor/administrator password set and requires one before security settings can be changed; or the board is in “User Mode” with no keys and needs factory keys restored first.
The PC will not boot after I disabled CSM. That is the MBR-versus-GPT problem. Re-enable CSM to get back into Windows, then run the mbr2gpt conversion above before trying again. Nothing is lost by re-enabling CSM.
Secure Boot State says “Unsupported”. On genuinely old hardware there is no UEFI implementation to support it. On newer hardware this usually means the firmware is still running in Legacy mode — check BIOS Mode in msinfo32 rather than trusting the Secure Boot line alone.
A graphics card or add-in card stops the machine posting. Older expansion cards carry Legacy option ROMs that will not load with CSM off. A firmware update for the card sometimes fixes it; otherwise that card and Secure Boot are mutually exclusive.
I dual-boot Linux and it stopped booting. Mainstream distributions ship a signed shim that works with Secure Boot out of the box. If yours does not boot, you either need a distribution with a signed boot loader or you need to enrol your own key through the MOK (Machine Owner Key) manager. Third-party kernel modules — proprietary graphics drivers especially — may need signing separately.
I enabled it and Windows 11 setup still refuses. Secure Boot is one of three gates. Check TPM as well; our guide to checking and enabling TPM 2.0 walks through that, and “this app can’t run on your PC” covers the remaining setup errors.
FAQ
Will enabling Secure Boot delete my files? No. Enabling the setting does not touch your data. The mbr2gpt conversion rewrites the partition table rather than the files, but back up before running it regardless.
Do I need Secure Boot if I already have TPM 2.0? Yes — Windows 11 setup checks both, and they protect different things. TPM stores keys; Secure Boot decides what is allowed to run before Windows.
Does Secure Boot slow the PC down? No. The signature checks happen once, during boot, and take milliseconds.
Can I turn it off again later? Yes, and nothing breaks. You lose the protection, and some features such as Windows Defender System Guard will report a reduced security state.
With TPM and Secure Boot both in place the hardware check passes, and the next step is getting the installation media. Our guide to updating drivers on Windows 11 is worth reading before a clean install, since storage drivers are the ones setup most often needs.
Featured image: Photo: Paowee / Wikimedia Commons, CC BY-SA 4.0