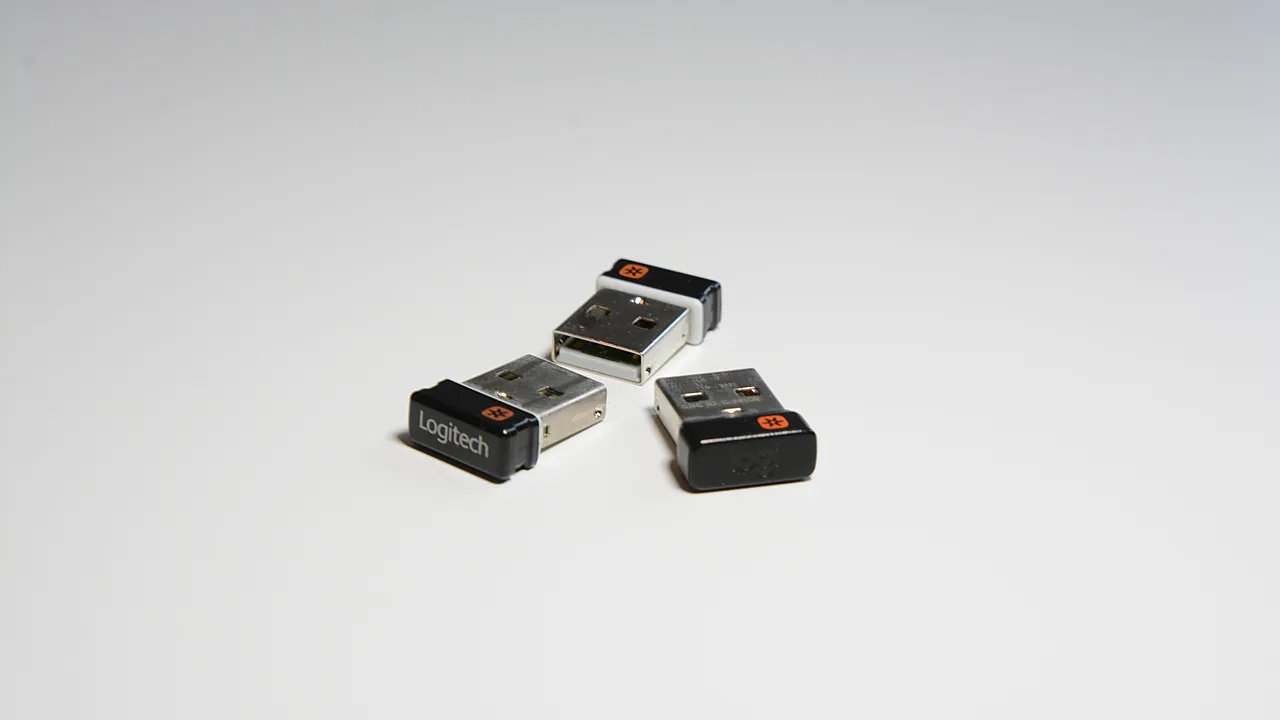
One Logitech Unifying receiver can run up to six keyboards and mice at once — but only if you can actually pair them, and the software situation has changed. The classic Unifying Software still exists but is no longer maintained; pairing now officially happens in Logi Options+. This guide covers both paths and the fixes for a receiver that refuses to show up.
Last checked: September 2026.
First, check which receiver you have
Flip the receiver over and look at the logo:
- Unifying receiver — small orange asterisk logo. Works with Unifying-badged devices only.
- Logi Bolt receiver — green lightning-bolt logo. A different, security-hardened system.
The two are not cross-compatible in either direction: a Bolt mouse cannot pair with a Unifying receiver, and a Unifying keyboard cannot pair with a Bolt receiver. If your devices are mixed, you need both receivers plugged in — or Bluetooth. Your device is Unifying-compatible if it carries the same orange asterisk on its underside.
The software situation in 2026
- Logi Options+ is the current official tool for pairing and configuring Unifying devices. It runs on Windows 10/11 and recent macOS. This is the route Logitech supports today.
- Logitech Unifying Software 2.52 — the small classic pairing tool — is no longer maintained, but Logitech still hosts it: Windows installer and Mac version. It remains the practical choice on older systems (Windows 7/8, older macOS) where Options+ will not install.
- Linux: the open-source community tool Solaar pairs and manages Unifying devices well; many distributions ship it in their repositories.
Pair a device with Logi Options+
- Plug the Unifying receiver into a USB-A port directly on the computer.
- Install Logi Options+ from logitech.com and open it.
- Choose Add device (or Add devices), then select Unifying receiver when asked how to connect.
- Switch the keyboard or mouse off and back on. If it has a Connect button, hold it until the status LED blinks rapidly.
- Wait for the confirmation — the device is now bound to this receiver and will follow it to any computer, no software needed on the other machine.
Pair with the legacy Unifying Software
- Install and open Unifying Software 2.52.
- Click Next on the welcome screen to enter pairing mode.
- Turn the device off and on when prompted. It pairs within a few seconds.
- For unpairing or checking battery per device, use Advanced.
Troubleshooting
- Receiver not detected. Plug it into a USB-A port on the computer itself — not a hub, a monitor, or a keyboard passthrough port. Try a second port; a surprising number of “dead” receivers are just sitting in a flaky port.
- Pairing starts but never completes. Put a fresh battery in the device, keep it within arm’s reach of the receiver during pairing, and switch it off/on again when the software says it is listening.
- Receiver already has six devices. That is the hard limit. Unpair one you no longer use (Options+ or the Advanced screen of the legacy tool), then pair the new one.
- Lost the receiver? Devices are not locked to the receiver they shipped with. Buy a standalone Unifying receiver and pair everything to it — that is the intended replacement path.
- Cursor lag or key dropouts. USB 3.0 ports and adjacent 2.4 GHz interference are the usual culprits. Move the receiver to a USB 2.0 port or a short extension cable away from USB 3.0 devices and Wi-Fi antennas.
Should you switch to Bolt?
Only if you are buying new devices anyway. Bolt adds enterprise-grade Bluetooth LE security and behaves better in congested offices, but it does not make existing Unifying gear faster — and nothing you own on Unifying can migrate to it. For a home setup that already works, there is no reason to change.
Related on AppInstall.info: Logitech Gaming Software vs G HUB, and installing apps via winget.
Featured image: Logitech Unifying receivers — Photo: Hayden Schiff / Wikimedia Commons, CC BY 4.0